DIY Home Repairs: Master Common Household Fixes
Your home, that special corner you call refuge, is more than just four walls. But let’s be honest, with daily life, use, and the passage of time, those little “aches and pains” are inevitable. A persistently dripping faucet, a malfunctioning light switch… at first, they might seem like insurmountable mountains. But the truth is, most of these minor nuisances are within your reach! With a bit of curiosity, the right tools, and a dash of patience, you can transform yourself into your home’s hero.
Diving into the world of “Do It Yourself” (DIY) is not only a relief for your wallet (goodbye, expensive professional bills!) but also a fascinating journey. You’ll learn new things, better understand how your home works, and feel incredible satisfaction seeing that you’ve fixed something with your own hands. Plus, solving these small problems promptly prevents them from turning into real headaches (and much larger expenses) in the future.
Before we delve into the ‘how-to’ of each repair, an unbreakable golden rule: safety first. Always, always, prioritize your well-being and that of your home. Familiarize yourself with your tools, use them wisely, and most importantly, know your limits! Some jobs are definitely for experts: complex electrical installations, structural plumbing, roofing, or major HVAC systems. If you ever feel unsafe or the problem overwhelms you, don’t hesitate for a second to call a certified professional. Don’t play the hero when it’s not necessary!
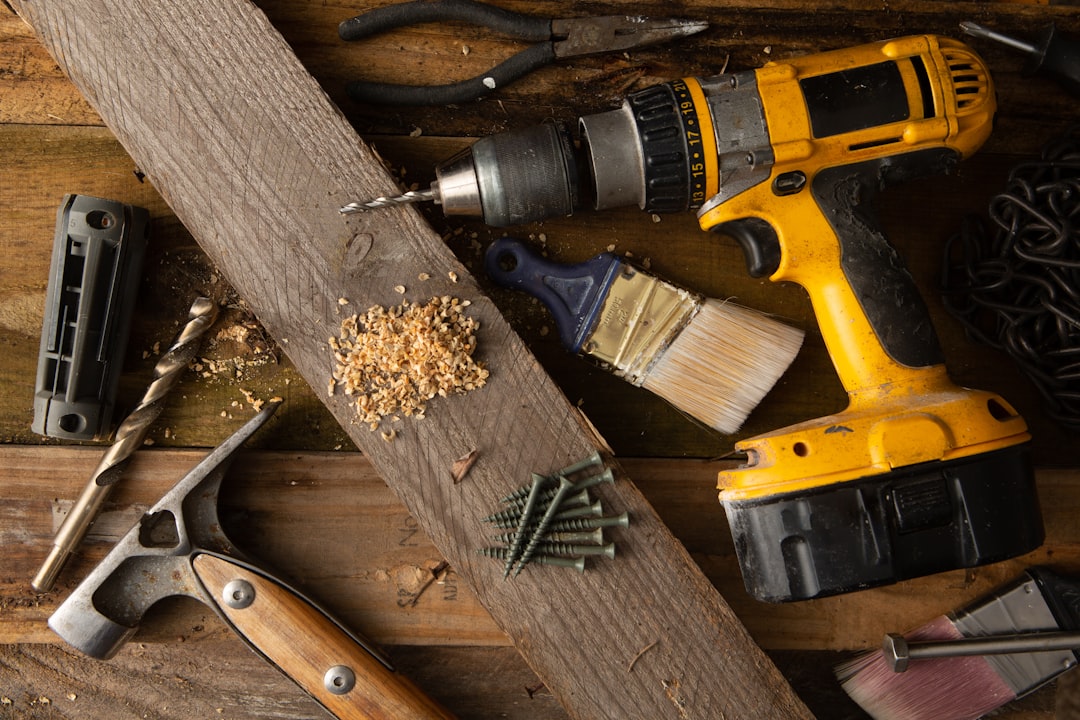
To embark on this adventure, you’ll need your trusty companions: a basic tool kit. You don’t need to set up a carpentry workshop, but these essentials will save you from most predicaments:
- Screwdrivers: Flathead and Phillips, in various sizes. They are your extended hands.
- Adjustable and pipe wrenches: Indispensable when water rebels.
- Pliers: Needle-nose for details, cutting pliers for wires, and locking pliers for gripping.
- Hammer: Your controlled brute force for general tasks.
- Tape measure: So everything fits perfectly.
- Level: So your pictures and shelves don’t dance.
- Utility knife or multi-tool: For precise and quick cuts.
- Flashlight or headlamp: Because problems often hide in the dark.
- Work gloves and safety glasses: Your personal protectors! Don’t go without them.
- Electrical tape and Teflon tape: For the magic of electricity and plumbing, respectively.
- Spackle/patching compound and putty knife: To leave your walls immaculate.
- Non-contact voltage tester: Your “danger detector” for electricity. Essential!
With these preparations in mind, it’s time to explore those repairs you can start conquering today!

Your Top 3 DIY Home Repair Tips
-
Fixing Leaky Faucets: Taming the Drip
That constant “drip, drip” from a leaky faucet is not only irritating but also a wasteful drain on your water bill. The culprit is often a tiny, insignificant part: a worn-out washer or gasket that has simply reached the end of its life.
Real-World Example: For two-handle compression faucets, the issue is almost always a worn washer under the handle or in the valve seat. For single-handle cartridge faucets, the problem usually lies in the cartridge itself.
Benefit: Promptly fixing a leaky faucet saves significant amounts of water and prevents potential structural damage from continuous moisture. It also eliminates an annoying sound, contributing to a more peaceful home environment.
Critical Consideration: Always shut off the water supply to the faucet before beginning any work. Locate the shut-off valves typically found underneath the sink and turn them clockwise.
Implementation Steps:
- Shut Off Water: Turn the valves clockwise under the sink to cut the water supply. Open the faucet to release residual pressure.
- Disassemble Handle: Remove the decorative cap (if present) and unscrew the handle’s retaining screw. Lift off the handle.
- Access Stem: Use an adjustable wrench to unscrew the packing nut holding the stem, then pull out the stem.
- Replace Washers/Gaskets: At the bottom of the stem, remove the old washer or O-ring and replace it with a new one. Check for other worn gaskets in the faucet body.
- Clean: Take the opportunity to clean any sediment or mineral buildup.
- Reassemble: Put all parts back in reverse order, ensuring not to overtighten screws or nuts.
- Restore Water: Slowly turn on the water supply and check for leaks.
-
Safely Replacing a Light Switch or Outlet
A non-responsive light switch or a wobbly outlet is a common household nuisance. The good news is that replacing them is relatively straightforward, but it demands the utmost respect for electricity and strict adherence to safety protocols.
Real-World Example: Replacing a standard two-prong or three-prong wall outlet that no longer holds plugs securely or replacing a simple toggle light switch.
Benefit: A properly functioning switch or outlet restores convenience and, more importantly, enhances the safety of your home by eliminating potential electrical hazards like loose connections or faulty components.
CRITICAL SAFETY WARNING:
- ALWAYS turn off the main circuit breaker that controls the specific circuit in your electrical panel before touching any wires.
- VERIFY, verify, and re-verify the absence of current with your non-contact voltage tester BEFORE touching any wires.
- If you have the slightest doubt, if you are not 100% sure, CALL A LICENSED ELECTRICIAN! Your life and theirs are worth it.
Implementation Steps (for a standard outlet):
- Turn Off Power: Go to your electrical panel and switch off the breaker for the affected outlet.
- Verify No Power: Use your non-contact voltage tester to confirm there’s no electricity.
- Remove Faceplate: Unscrew the central screw and remove the outlet’s faceplate.
- Remove Old Outlet: Unscrew the two mounting screws holding the outlet to the wall box. Gently pull the outlet out.
- Identify Wires: Note the connections: hot wire (black/red) to brass screw, neutral wire (white) to silver screw, ground wire (bare copper/green) to green screw.
- Disconnect Wires: Loosen terminal screws and detach wires from the old outlet.
- Connect New Outlet: If necessary, trim and strip wire ends (approx. 3/4 inch). Connect ground to green screw, neutral (white) to silver screw, and hot (black) to brass screw. Ensure tight, clockwise connections with no stray strands.
- Install New Outlet: Carefully fold wires, insert the outlet into the wall box, and secure it with mounting screws.
- Replace Faceplate: Put the faceplate back on and tighten the central screw.
- Restore Power: Return to the electrical panel, flip the breaker back on, and test the outlet with a small appliance.
-
Seamlessly Patching Drywall Holes
Walls are witnesses to daily life, from small picture holes to accidental bumps. Fortunately, most damage to your drywall is surprisingly easy to fix, restoring your home’s pristine look.
Real-World Example: Patching a medium-sized hole (up to 4-6 inches) caused by a door handle hitting the wall or a dropped item.
Benefit: Patching drywall holes restores the aesthetic integrity of your walls, prevents further damage, and provides a clean canvas for painting, significantly improving the overall appearance and value of your home.
Critical Consideration: Ensure the surface is thoroughly cleaned of any loose debris and is completely dry before applying any patching compound or adhesive patches. Proper drying time between coats is essential for a smooth finish.
Implementation Steps (for medium holes):
- Clean & Prepare: Ensure the edges of the hole are clean and free of loose debris.
- Apply Self-Adhesive Patch: Place a self-adhesive mesh patch over the hole, ensuring it covers the damage well. Press firmly.
- First Compound Layer: Using a wide putty knife, apply a thin layer of joint compound over the patch. Feather it out slightly beyond the patch edges. Allow to dry completely (check product instructions).
- Second Compound Layer: Lightly sand if needed. Apply a second, wider layer of compound, feathering the edges even further for a smooth transition. Let dry.
- Sand & Paint: Gently sand until the surface is perfectly smooth and flush with the wall. Clean off any dust, then prime and paint to match the wall.