Your Minimalist Bathroom, Transformed: DIY Ideas for Smart Storage
If you embrace a minimalist lifestyle, you understand the serene feeling that comes from having everything in its place, the essence of “less is more.” What about your bathroom? This vital, yet often chaotic, small space can be challenging to keep organized, functional, and aesthetically pleasing without feeling cluttered. But don’t worry, your bathroom doesn’t have to be just a utility room; it can be your personal tranquil spa, free from visual stress and unnecessary items. Of course, even the most dedicated minimalists need somewhere to store towels, favorite shampoos, or cleaning products. This is where the magic of “do-it-yourself” (DIY) comes in. You’ll love how these solutions are not only creative and economical but also allow you to add your personal touch and maximize every inch without losing that beloved minimalist vibe.
Get ready, because in this article, we’ll dive into a wealth of DIY ideas for your minimalist bathroom. We’ve focused on solutions that are super easy to build, visually appealing, and, most importantly, designed to simplify your life. From shelves that seem to float magically, to organizing under-sink chaos, to ideas for leveraging every wall, we want your bathroom to become the oasis of peace and order you’ve always dreamed of, in true minimalist style. We’ll tell you what materials to use, how to get started, and those little details that will make your DIY creations not only solve the “where do I put this?” problem but also elevate the natural beauty of a well-thought-out and organized space.
Before You Begin: Your Quick Guide to Minimalist Storage (and Common Sense!)
Before you start building, there are a few foundational principles that will help ensure your bathroom’s order is not just momentary, but lasting.
-
First, Declutter! (The Great Purge)
Minimalism is, above all, about letting go. Do you really need that cream bottle that’s been sitting on the shelf for a year? Before thinking about where to store, ask yourself: ‘Do I use it? Does it bring me joy?’ Be ruthless: discard, donate, or recycle anything that’s expired or no longer serves a purpose. A golden rule: if you haven’t touched it in a year, you probably don’t need it. Free yourself!
-
Embrace Walls! (Your Vertical Space is Gold)
If your bathroom is on the smaller side, the wall is your best friend. Imagine: from floor to ceiling, everything is usable! By utilizing vertical space, you free up countertops and floor, creating a sense of spaciousness. Shelves, small cabinets, or anything that goes on the wall are key!
-
Choose Items with Double Lives (or More!)
Think about objects that serve multiple purposes. A stool that also stores towels? A mirror with a built-in mini-shelf? Brilliant! This reduces the total number of items and maintains harmony.
-
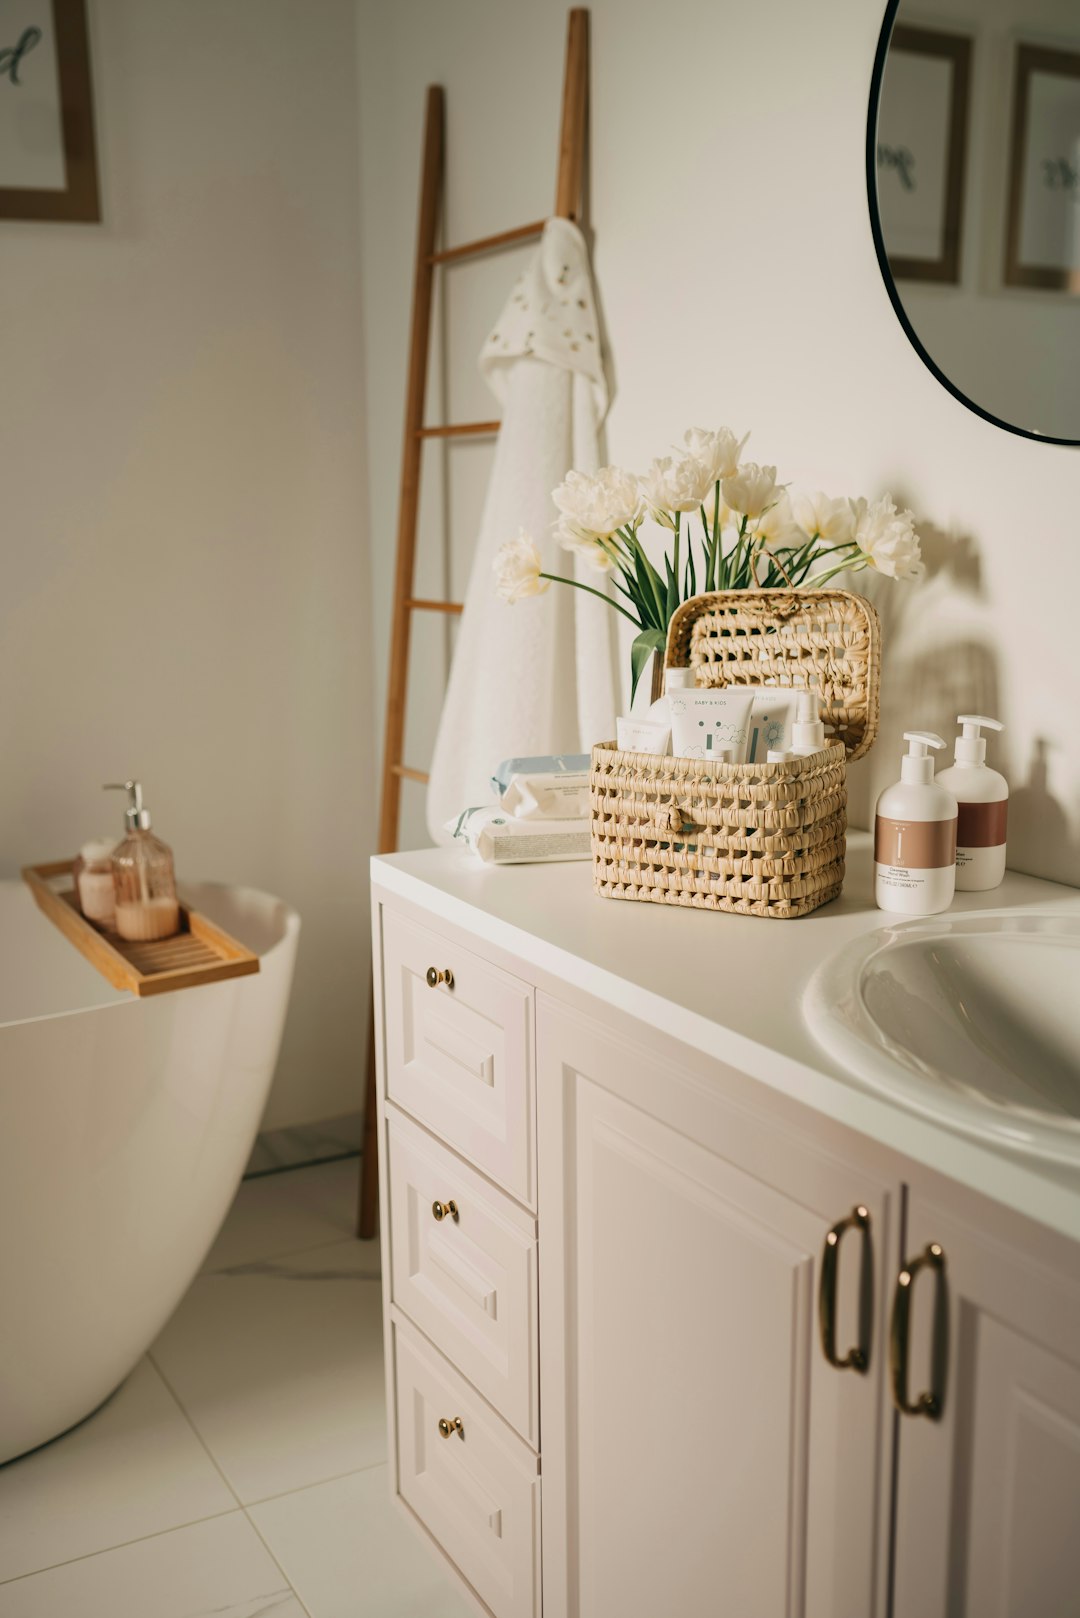
The Art of Hiding and Showing (Smart Storage)
While open shelves are beautiful, for that minimalist sense of peace, it’s vital to have places to hide what isn’t so “photogenic.” Pretty baskets or boxes can group items on open shelves, while closed cabinets are perfect for products best kept out of sight. The key is balance between what’s visible and what’s not.
-
Opt for Simplicity (and Cohesion)
Imagine woods, metals, wicker… and calming colors. Natural materials and a neutral palette are the foundation of a serene, minimalist bathroom. Avoid overly ornate designs and jarring colors that add visual “noise.” We want peace!
-
Make it Easy (and Easy to Clean!)
A beautiful shelf is useless if it’s a hassle to grab your toothbrush. Everything should be intuitive. If something is difficult to store, guess what? It will end up anywhere. And while we’re at it, make sure it’s easy to clean. Life’s too short to complicate organization!

Get Started! Simple DIY Ideas for Your Minimalist Bathroom (You’ll Love Them!)
Now that we have the foundations clear, it’s time to get inspired! Here are some practical and beautiful DIY ideas for your bathroom. Each comes with a description, what you’ll need, and simple steps to encourage you to make them.
-
Floating Shelves: The Magic of Lightness
These shelves are a minimalist dream come true. They provide space without visual “weight” because their supports are not visible. The result? A clean, light, and airy atmosphere. They are perfect for your neatly folded towels, that paradise-scented candle, or your daily products.
- Why they are so minimalist: Their design without visible supports offers pure visual peace and, by being elevated, they free up floor space.
-
What You’ll Need:
- Wood boards (pine, oak, or MDF if you plan to paint) of your desired size. Reclaimed wood adds a unique touch!
- Floating shelf brackets (these go inside the wood and are screwed into the wall).
- Screws and anchors (very important to use the right ones for your wall!).
- A level, drill, tape measure, pencil.
- Wood sealer or moisture-resistant paint.
-
Step-by-Step (Don’t be scared, it’s easy!):
- Cut and Sand: Measure and cut your boards. Give the edges and surface a good sanding.
- Protect the Wood: Apply a good waterproof sealer, varnish, or moisture-resistant paint. This is vital in the bathroom!
- Mark and Drill: Using the level, mark where the supports will go on the wall. Drill the holes and insert anchors if needed.
- Screw the Supports: Fix the floating brackets to the wall. Make sure they are perfectly straight!
- Place the Shelf: Slide the board onto the supports. Some come with extra screws underneath to secure them.
- Minimalist Tip: Don’t fill the shelves to the brim. Leave empty spaces; this gives a sense of lightness. To make everything look tidier, group similar items in small trays or baskets.
-
Ladder Shelf: Rustic-Chic Vertical Storage
A ladder-style shelf, whether bought or made with some wood strips, is a great way to utilize vertical height with special charm. Its inclined design is visually interesting and very practical for towels, baskets, or even your favorite plants!
- Why it’s minimalist: It uses vertical space wonderfully, and its open design prevents a small bathroom from feeling cluttered.
-
What You’ll Need (if building from scratch):
- Wood strips (can be 2×2 or 1×2 inches) for the sides and rungs.
- Thinner boards if you want solid shelves.
- Screws, wood glue.
- Saws (miter or hand saw), drill, level, tape measure.
- Wood sealer or paint.
-
Step-by-Step (Basic construction!):
- Cut: Cut four long strips for the legs (the upper ends slightly angled to rest well against the wall). Then, cut several shorter pieces for the rungs or shelf supports.
- Assemble: Attach the rungs or supports to the side legs, spacing them well. Use screws and glue to make it sturdy.
- Add Shelves (optional): If you want actual shelves, cut thin boards to size and attach them to the rungs.
- Finish: Sand and apply a good protective coating.
- Minimalist Tip: Use the upper rungs to hang towels and the lower ones for baskets with products. And please, keep the colors neutral!
-
Inside Cabinet Door Organizer: The Secret Space
The inside of your bathroom cabinet door is a hidden treasure! You can turn it into a perfect place to store small, flat items, freeing up space inside the main cabinet.
- Why it’s minimalist: It hides clutter and maximizes a space that is almost always forgotten.
-
What You’ll Need:
- Small wire or wood shelves (like spice racks – you can adapt them!).
- Adhesive or screw-in hooks (for brushes, mini hairdryers…).
- Mini tension rods (for cleaning cloths or hand towels).
- Small screws or strong adhesive (depending on your door material).
-
Step-by-Step (Super easy!):
- Measure Carefully: Make sure that when installing shelves or hooks, the door still closes without problems.
- Install: Screw or glue the mini shelves on the lower part. Place individual hooks for your scissors, combs, or travel hairdryer.
- Tension Rod: Place a tension rod at the top to hang lightweight sprays or small towels.
- Minimalist Tip: Don’t overdo it. Only store essentials so it doesn’t look bulky. And make sure they are items you use often!
Conclusion
Creating a minimalist and functional bathroom with DIY solutions is an incredible experience that blends creativity, savings, and a genuine commitment to simplicity. By following the principles of decluttering, leveraging vertical space, and maintaining a cohesive aesthetic, you can transform your bathroom into the serene and organized space you’ve always desired. From floating shelves to drawer organizers, the genius of hanging jars, or versatile utility carts, each idea is an opportunity to add your personal touch to your home and live more consciously.
Remember that the ultimate goal is not just “to store things,” but to create an environment of calm and efficiency where every item has its purpose and its place. With a little planning, the right tools, and a good dose of ingenuity, you can design DIY solutions that not only solve your space problems but also enhance the simple, natural beauty of your minimalist home. So go ahead, grab that drill and paintbrush, and start building the bathroom of your dreams!