





Revitalize Your Patio: Paint, Seal, and Reinvent Outdoor Furniture
Tired of seeing your patio furniture looking dull and worn? Are those garden chairs that were once beautiful now sad and faded from the sun and rain? Don’t throw them away just yet! Think of your outdoor space as another room in your home, a place to unwind, laugh with friends, or simply enjoy nature. But, of course, the poor furniture living out there bears the brunt of it all: sun, rain, wind… and little by little, it loses its charm.
The good news is you don’t have to spend a fortune on new furniture or feel guilty about discarding items that still have life. There’s a much more ingenious, eco-friendly, and fun solution! It’s called renovating your patio furniture with a bit of paint and a good sealant. Not only will you save a lot of money, but you’ll also be doing the planet a favor by giving what you already own a new opportunity. Plus, imagine designing your own outdoor space with the colors and style you love but can’t find in stores? From iron chairs starting to rust to wooden tables with cracks or plastics faded by the sun, almost any piece can be resurrected with a little care, the right tools, and a good dose of patience. Get ready to transform your outdoor nook!

Why Renovate Your Patio Furniture?
Deciding to fix your patio furniture instead of buying new is a super smart decision that goes far beyond just making it look pretty again. It’s economically gratifying, saving you money on new sets. It’s an eco-friendly gesture, reducing the need for new manufacturing and waste. It allows for complete style customization, making your outdoor space uniquely yours. It preserves sentimental value for cherished pieces. Finally, with the right materials and preparation, your renewed furniture can become more durable than many low-quality new options, protected against UV rays, humidity, mold, and rust.
3 Actionable Tips for a Successful Patio Furniture Renovation
Embarking on a patio furniture renovation project requires a strategic approach. These three tips, ranging from foundational assessment to the nitty-gritty of painting and sealing, will guide you through creating a durable and beautiful outdoor oasis.
-
Assess Your Furniture: Is It Worth the Renovation Effort?
Before grabbing your tools, critically evaluate each piece of furniture. Identify its material, check its structural integrity, and determine the extent of its damage. This crucial initial step prevents wasted time and resources on items beyond repair, ensuring your efforts are focused on pieces that truly have potential.
Real-world Application: Check for deep rust that compromises the structure of iron furniture, significant cracks or rot in wood, or whether plastic pieces have become severely brittle and lost their resistance. If a chair doesn’t feel safe to sit on, it needs a thorough structural review.
Benefit: This foundational assessment ensures safety and prevents you from investing time, effort, and money into pieces that are either irreparable or would cost more to fix than to replace, allowing you to prioritize viable projects.
Warning & Considerations: Be honest about a piece’s condition. While minor discoloration or light surface rust is often cosmetic and ideal for renovation, extensive issues like rotted wood, deep structural fractures, or irrecoverable damage might mean it’s time to say goodbye for safety reasons.
-
Master the Prep Work: The Foundation for a Lasting Finish
Preparation is the most critical phase of any renovation project. A poor preparatory job can undermine the best painting and sealing efforts, leading to premature peeling, poor adhesion, and a short-lived finish. This involves thorough cleaning, careful disassembly (if possible), and specific surface treatment tailored to each material.
Real-world Application: Begin with a deep clean using soap and water, tackling mold with a diluted bleach solution if necessary. For metal, meticulously remove all loose rust with a wire brush or sandpaper (120-180 grit). For plastic, a light sanding with very fine grit (220-320) creates a microscopic texture essential for paint adhesion. Always repair any structural issues like loose joints or broken welds before painting.
Benefit: Meticulous preparation ensures optimal adhesion for primers and paints, prevents common issues like blistering and peeling, and extends the overall lifespan and professional appearance of your renovated furniture.
Warning & Considerations: Never skip or rush the cleaning and sanding steps, as grease, dirt, or a smooth surface will prevent paint from sticking properly. Always protect yourself with gloves, a mask, and safety glasses, especially when sanding or using chemical degreasers or mold removers, and work in a well-ventilated area.
-
Choose Your Coatings Wisely: Paint and Seal for Outdoor Longevity
The right paint and sealant are the heart of your furniture’s transformation and its defense against the elements. Selecting products specifically formulated for exterior use and applying them correctly ensures vibrant color, robust protection, and long-term durability against UV rays, moisture, and daily wear. This is a long-term investment in your furniture’s future.
Real-world Application: For maximum durability, opt for exterior acrylic or oil-based enamels, which offer good weather resistance. Always apply a suitable primer first, especially on challenging surfaces like plastic or metal, to enhance paint adhesion and prevent rust or stains. Follow up with 2-3 thin, even coats of your chosen exterior paint, allowing adequate drying time between each. Finally, protect your painted surfaces with a UV-resistant exterior sealant like marine varnish or polyurethane, applying at least 2-3 thin layers and allowing full curing before use.
Benefit: Strategic coating selection and application result in furniture that not only looks beautiful but is also exceptionally well-protected against fading, cracking, rust, and moisture damage, ensuring it remains attractive and functional for years to come.
Warning & Considerations: Traditional chalk paint is NOT suitable for exterior use without a robust exterior sealant (like marine varnish or outdoor polyurethane) applied over it. Rushing the drying and curing times between paint and sealant layers can lead to bubbles, tackiness, or compromised durability. Understand the difference between “dry to touch” and “fully cured,” and ensure the latter before intensive use.
Beyond Renovation: Reusing and Styling Your Transformed Pieces
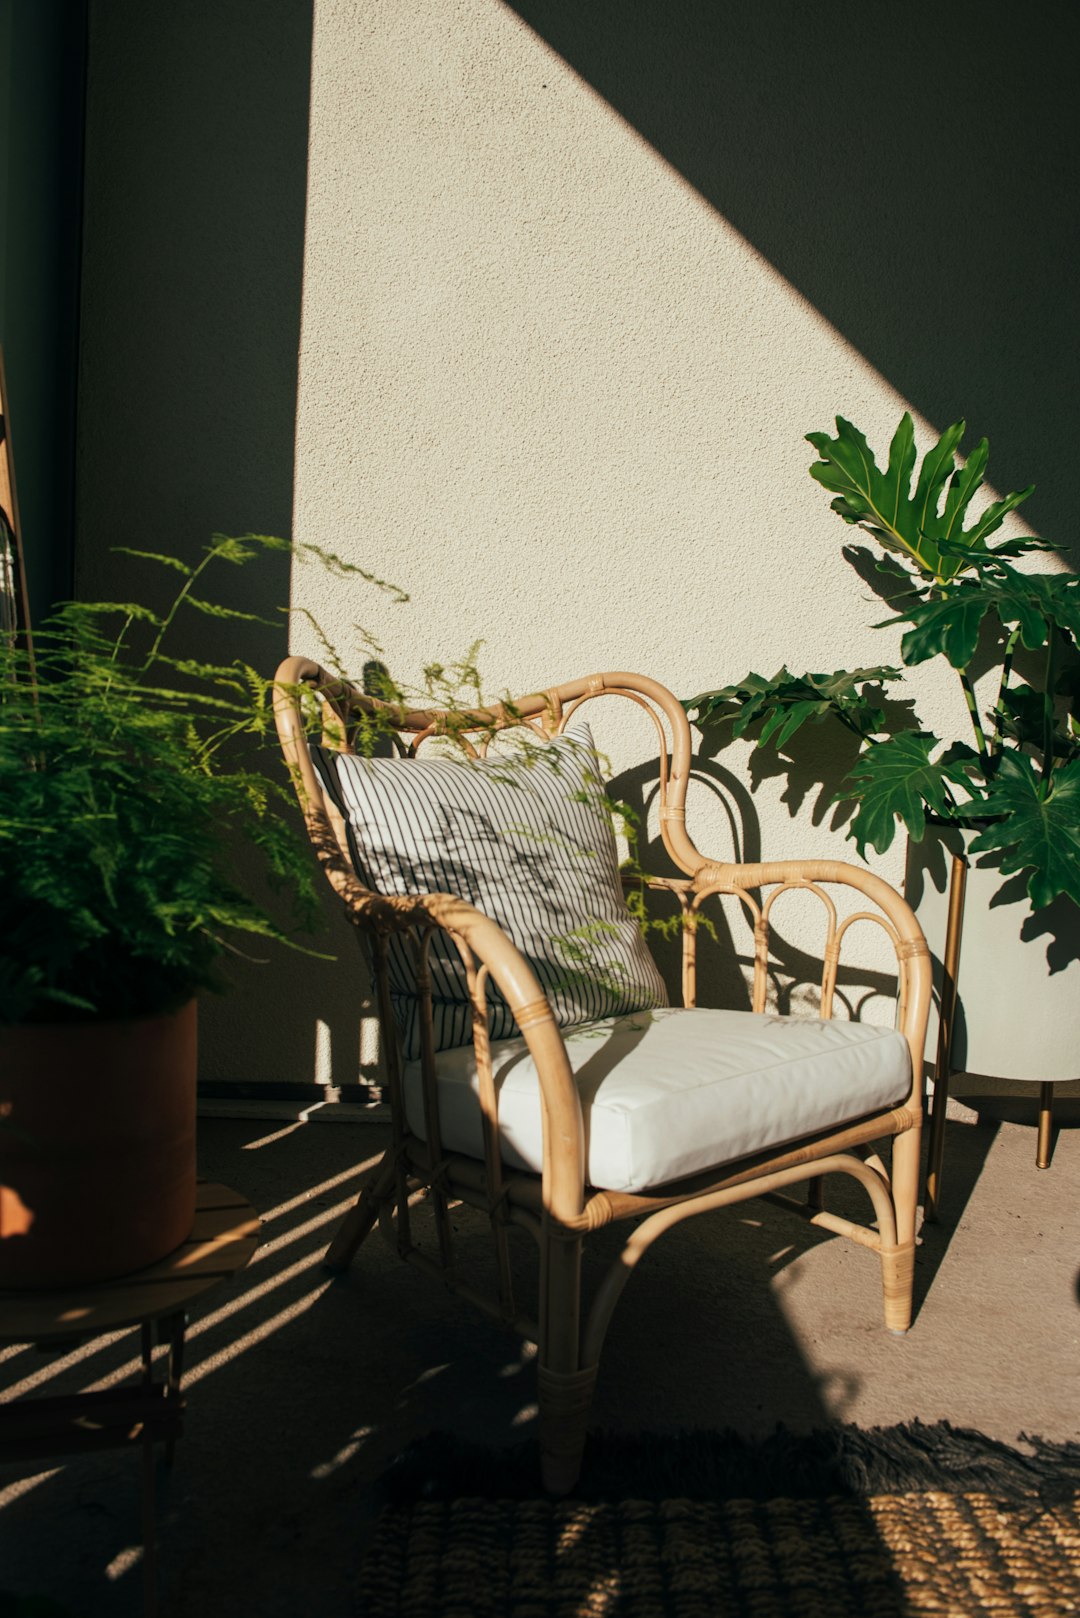
Once your furniture is painted and sealed, the final stage is to reassemble, decorate, and integrate it into your outdoor space, or even give it an entirely new purpose. Reassemble carefully, using new stainless steel screws where possible. Refresh cushions by cleaning or replacing them, or by sewing custom covers from outdoor fabric. Enhance the space with accessories like decorative pillows, outdoor throws, potted plants (consider painting pots to match), outdoor rugs, and ambient lighting like string lights or lanterns.
Beyond aesthetics, consider creative reuse: an old side table with a damaged top can become a unique planter by replacing the top with a wooden or metal box. Old chairs with broken seats can serve as charming plant stands. Discarded drawers can be painted and used as hanging planters or storage for gardening tools. These creative approaches add a unique, functional, and surprising element to your outdoor living area.
Ongoing Maintenance: Keeping Your Beauty Lasting
The renovation journey doesn’t end with the final coat of sealant. Regular maintenance is crucial to ensure your patio furniture remains impeccable and protected for years. This includes routine cleaning with mild soap and water to prevent the buildup of dirt and pollen. Conduct an annual review, ideally at the start of the season, to inspect for any wear in the paint or sealant, early signs of rust, or loose joints.
Address any small scratches or peeling paint immediately with quick touch-ups to prevent larger problems. Depending on exposure and the original sealant’s quality, plan to reapply a fresh coat of sealant every 1-3 years. Oiled wood will also need periodic re-oiling. In areas with harsh winters, consider storing furniture indoors or using protective outdoor covers to shield it from extreme weather.
Conclusion
Renovating patio furniture is far more than just a DIY project; it’s an investment in your home, your well-being, and the planet’s future. By choosing to paint, seal, and creatively reuse those older pieces, you’re not only saving money and reducing your environmental impact, but you’re also crafting an outdoor space that truly reflects your unique style and creativity.
The process, while demanding effort and attention to detail, is incredibly rewarding. From the meticulous preparation and careful paint application to the final protective layer and personal decorative touches, each step contributes to a remarkable transformation. Witnessing a worn and forgotten piece regain its splendor and become the centerpiece of your outdoor oasis is an experience filled with satisfaction.
So, the next time you look at that old patio set, don’t see it as clutter or an impending expense. See it as a blank canvas! An opportunity to breathe new life into it, tell a new story, and enjoy the lasting beauty that only a renovation done with love can offer. Get started and savor the satisfaction of creating an outdoor space that is truly yours!