
Are you tired of the old and worn-out flooring in your home? Perhaps it’s time for a change. Installing new flooring or tiles can be a daunting task, but with the right tools, materials, and knowledge, it can be a DIY project that you can take on yourself. This guide will walk you through the process of how to do it yourself Installing new flooring or tiles in your home.
Introduction
Installing new flooring or tiles can be a great way to update your home and give it a fresh new look. It can also add value to your home if you decide to sell it in the future. While hiring a professional can be expensive, doing it yourself can save you money and give you a sense of pride and accomplishment.
Types of Flooring and Tiles
There are many different types of flooring and tiles available on the market, each with its unique features and benefits. Before you start your project, it’s important to consider the type of flooring or tiles that best suits your needs and your home’s style. Here are some of the most popular types of flooring and tiles:
1. Hardwood Flooring
Hardwood flooring is a classic choice that adds warmth and character to any room. It’s durable, long-lasting, and comes in a variety of finishes and colors. However, it can be expensive and may require professional installation.
2. Laminate Flooring
Laminate flooring is a more affordable option that looks like real wood or stone. It’s easy to install, durable, and resistant to scratches and stains. However, it’s not as long-lasting as hardwood flooring and may need to be replaced sooner.
3. Tile Flooring
Tile flooring is a popular choice for bathrooms and kitchens because it’s water-resistant and easy to clean. It comes in a variety of styles, colors, and patterns, and can mimic the look of natural stone or wood. However, it can be cold and hard underfoot and may require professional installation.
4. Vinyl Flooring
Vinyl flooring is a versatile and affordable option that’s easy to install and comes in a variety of styles, including tiles and planks. It’s water-resistant, durable, and easy to clean, making it a popular choice for high-traffic areas. However, it may not be as long-lasting as other types of flooring.
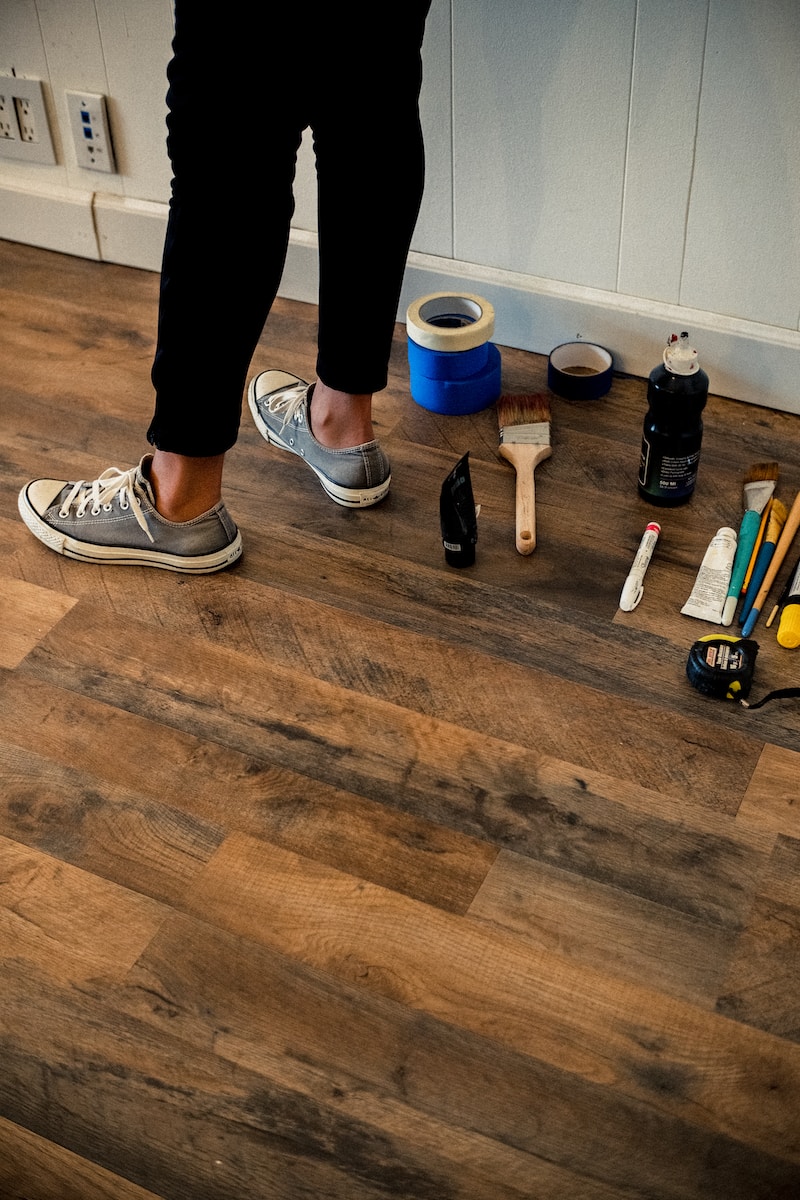
Tools and Materials
Before you begin your DIY project, you’ll need to gather the necessary tools and materials. Here’s a list of the basic tools you’ll need:
- Measuring tape
- Chalk line
- Utility knife
- Jigsaw
- Circular saw
- Hammer
- Pry bar
- Drill
- Trowel
In addition to the tools, you’ll also need to purchase the necessary materials, including:
- Flooring or tiles of your choice
- Underlayment
- Adhesive
- Nails or screws
- Grout (if installing tiles)
- Sealant (if installing hardwood or laminate flooring)
Preparing the Subfloor
Before you can install your new flooring or tiles, you’ll need to prepare the subfloor. The subfloor is the layer of flooring underneath the top layer. It needs to be clean, level, and free of any bumps or debris. Here’s how to prepare your subfloor:
1. Remove the Old Flooring
If you’re replacing old flooring, you’ll need to remove it first. Use a pry bar to remove any baseboards and then pull up the old flooring. If it’s a tile floor, use a chisel and hammer to break it up into smaller pieces and then remove it.
2. Clean the Subfloor
After removing the old flooring, clean the subfloor
3. Check for Levelness
Use a level to check the levelness of the subfloor. If you find any low spots, fill them with a self-leveling compound. Let it dry according to the manufacturer’s instructions.
Installing the Underlayment
The underlayment is a layer of material that goes on top of the subfloor and underneath the new flooring or tiles. It provides a smooth, level surface for the flooring or tiles to adhere to. Here’s how to install the underlayment:
1. Measure and Cut
Measure the area of your floor and cut the underlayment to fit. Leave a 1/4 inch gap around the edges to allow for expansion.
2. Lay the Underlayment
Lay the underlayment over the subfloor, making sure it’s flat and smooth. Use a staple gun to secure it to the subfloor, leaving a 6-inch gap between each staple.
3. Tape the Seams
Overlap the edges of the underlayment by about 2 inches and tape them together with underlayment tape.
Installing the New Flooring or Tiles
Now that you’ve prepared the subfloor and installed the underlayment, you’re ready to install the new flooring or tiles. Here’s how to do it:
1. Plan Your Layout
Plan the layout of your flooring or tiles before you start installing. Measure the length and width of the room and mark the center of each wall. Snap a chalk line between opposite walls to create a cross in the center of the room.
2. Start Installing
Starting at the center of the room, lay your first row of flooring or tiles along the chalk line. Use spacers to create a 1/4 inch gap between the flooring or tiles and the walls. This gap will allow for expansion.
3. Continue Installing
Continue installing the flooring or tiles row by row, using a trowel to spread adhesive if necessary. Use a jigsaw or circular saw to cut the flooring or tiles to fit around corners and obstacles.
4. Finishing Touches
Once you’ve installed all the flooring or tiles, install baseboards or shoe molding to cover the gaps between the flooring or tiles and the walls. If you’re installing tile flooring, apply grout between the tiles and seal it according to the manufacturer’s instructions.
How Do It Your Self Installing New Flooring or Tiles
Now that you’ve learned the basics of installing new flooring or tiles, you may be wondering how to do it yourself. While it may seem intimidating at first, it’s a project that you can tackle with the right tools and materials. Follow the steps outlined above, take your time, and don’t be afraid to ask for help if you need it.
FAQs
1. How long does it take to install new flooring or tiles?
The time it takes to install new flooring or tiles depends on the size of the room, the type of flooring or tiles, and your level of experience. It can take anywhere from a few hours to a few days.
2. Do I need to remove my old flooring before installing new flooring or tiles?
In most cases, yes. You’ll need to remove your old flooring to prepare the subfloor for the new flooring or tiles.
3. Can I install new flooring or tiles over carpet?
No, you cannot install new flooring or tiles over carpet. You’ll need to remove the carpet first.
4. Do I need special tools to install new flooring or tiles?
You’ll need some basic tools, such as a measuring tape, circular saw, and drill, but you can rent more specialized tools, such as a tile cutter or floor nailer, from a home improvement store.
5. How much does it cost to install new flooring or tiles?
The cost of installing new flooring or tiles varies depending on the type of flooring or tiles you choose and whether you hire a professional or do it yourself. DIY installation can save you money on labor costs, but you’ll still need to purchase materials and tools.
6. Can I install new flooring or tiles in a basement?
Yes, you can install new flooring or tiles in a basement, but you’ll need to make sure the subfloor is dry and free of moisture. You may also need to install a vapor barrier to prevent moisture from seeping through the floor.
Conclusion
Installing new flooring or tiles can be a challenging but rewarding DIY project. With the right tools, materials, and knowledge, you can give your home a fresh new look and increase its value. Follow the steps outlined in this guide, and don’t be afraid to ask for help if you need it. Remember, taking your time and doing it right will ensure a successful installation.