In today’s world, the ability to create something on your own has never been more exciting. Whether you’re into crafts, home improvement, or creating your own online space, there’s a special kind of pride that comes from saying, “I made this!” For those of us who love to build and showcase our projects—whether it’s a portfolio, a personal blog, or a creative hobby site—having a place to share our passion with the world is essential. That’s where Elementor comes in.
Imagine being able to design your own website, tailored to perfectly reflect your unique style and personality, without having to write a single line of code.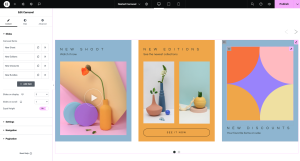 With Elementor, you can turn your DIY vision into a reality. It’s the ultimate tool for the hands-on creators among us, offering the freedom to design, tweak, and share your work with the world—all by yourself.
This guide will walk you through how to use Elementor to build your very own website, step by step, so you can showcase your projects in the best possible light. Whether you’re a seasoned DIY enthusiast or just dipping your toes into the world of web design, Elementor empowers you to create something amazing with your own two hands.
What is Elementor?
If you’ve been on the hunt for a user-friendly way to build a website, Elementor is your best friend. It’s a WordPress page builder that allows you to create custom websites using a simple drag-and-drop interface—no coding required. For those of us who love DIY projects, this means you can craft a personalized website as easily as you would design a scrapbook or build a piece of furniture.
Key Features of Elementor:
- Drag-and-Drop Editor: Design your website visually, by dragging and placing elements (called “widgets”) where you want them.
- Responsive Design: Your site will look good on all devices—desktop, tablet, and mobile—automatically.
- Pre-made Templates: Don’t want to start from scratch? Choose from hundreds of beautiful templates.
- Widgets: Add functionality to your site with elements like image galleries, forms, buttons, sliders, and more.
- Theme Builder: Customize every part of your website, including headers, footers, and archive pages.
- Popup Builder: Create custom popups to engage visitors or showcase promotions.
For DIY enthusiasts, Elementor is the digital equivalent of a workshop. It gives you all the tools you need to build something unique and personal.
Why Elementor is Perfect for DIY Website Builders
When you’re the type of person who likes to take charge of projects and bring ideas to life with your own two hands, the idea of designing a website from scratch can feel both exciting and overwhelming. The good news? Elementor makes the whole process not just manageable, but fun.
Here’s why Elementor is the perfect tool for DIYers:
- It’s Intuitive: The drag-and-drop interface is incredibly user-friendly. You don’t need to know any coding languages or be a tech wizard to create something special.
- Customization Without Limits: If you’re all about adding personal touches to your work, Elementor is your playground. From custom fonts and colors to animations and layout designs, you can tweak every inch of your site until it perfectly reflects your vision.
- Affordable: Building a website can be expensive, but Elementor offers a free version with tons of features. For more advanced needs, Elementor Pro is available at a fraction of what you’d spend hiring a designer.
- SEO-Friendly: Elementor is designed with search engines in mind, ensuring that your DIY site will have a better chance of ranking high on Google or Bing. Plus, it works seamlessly with popular SEO plugins like Yoast SEO, helping you ensure your site is optimized.
- Mobile-Friendly: In a world where more people browse the web on their phones than on desktops, Elementor makes sure your DIY website looks just as good on a mobile screen as it does on a large monitor.
Step-by-Step Guide: Building Your DIY Website with Elementor
Step 1: Installing Elementor
The first thing you’ll need to do is install Elementor on your WordPress site. Here’s how:
- Log into your WordPress dashboard.
- Navigate to Plugins > Add New.
- Search for “Elementor” in the search bar.
- Click Install Now, then Activate.
That’s it! Now you have the basic tools to start building.
Step 2: Choosing a Compatible Theme
Elementor works with most WordPress themes, but if you want to get the most out of the plugin, it’s smart to choose a theme that’s optimized for it. Some great themes for Elementor users include:
- Hello Elementor: A free theme designed specifically for Elementor, offering the perfect blank canvas.
- Astra: A fast, customizable, and lightweight theme that works well with Elementor.
- OceanWP: Another versatile and highly customizable theme.
Choose one of these themes, install it, and you’re ready to start building.
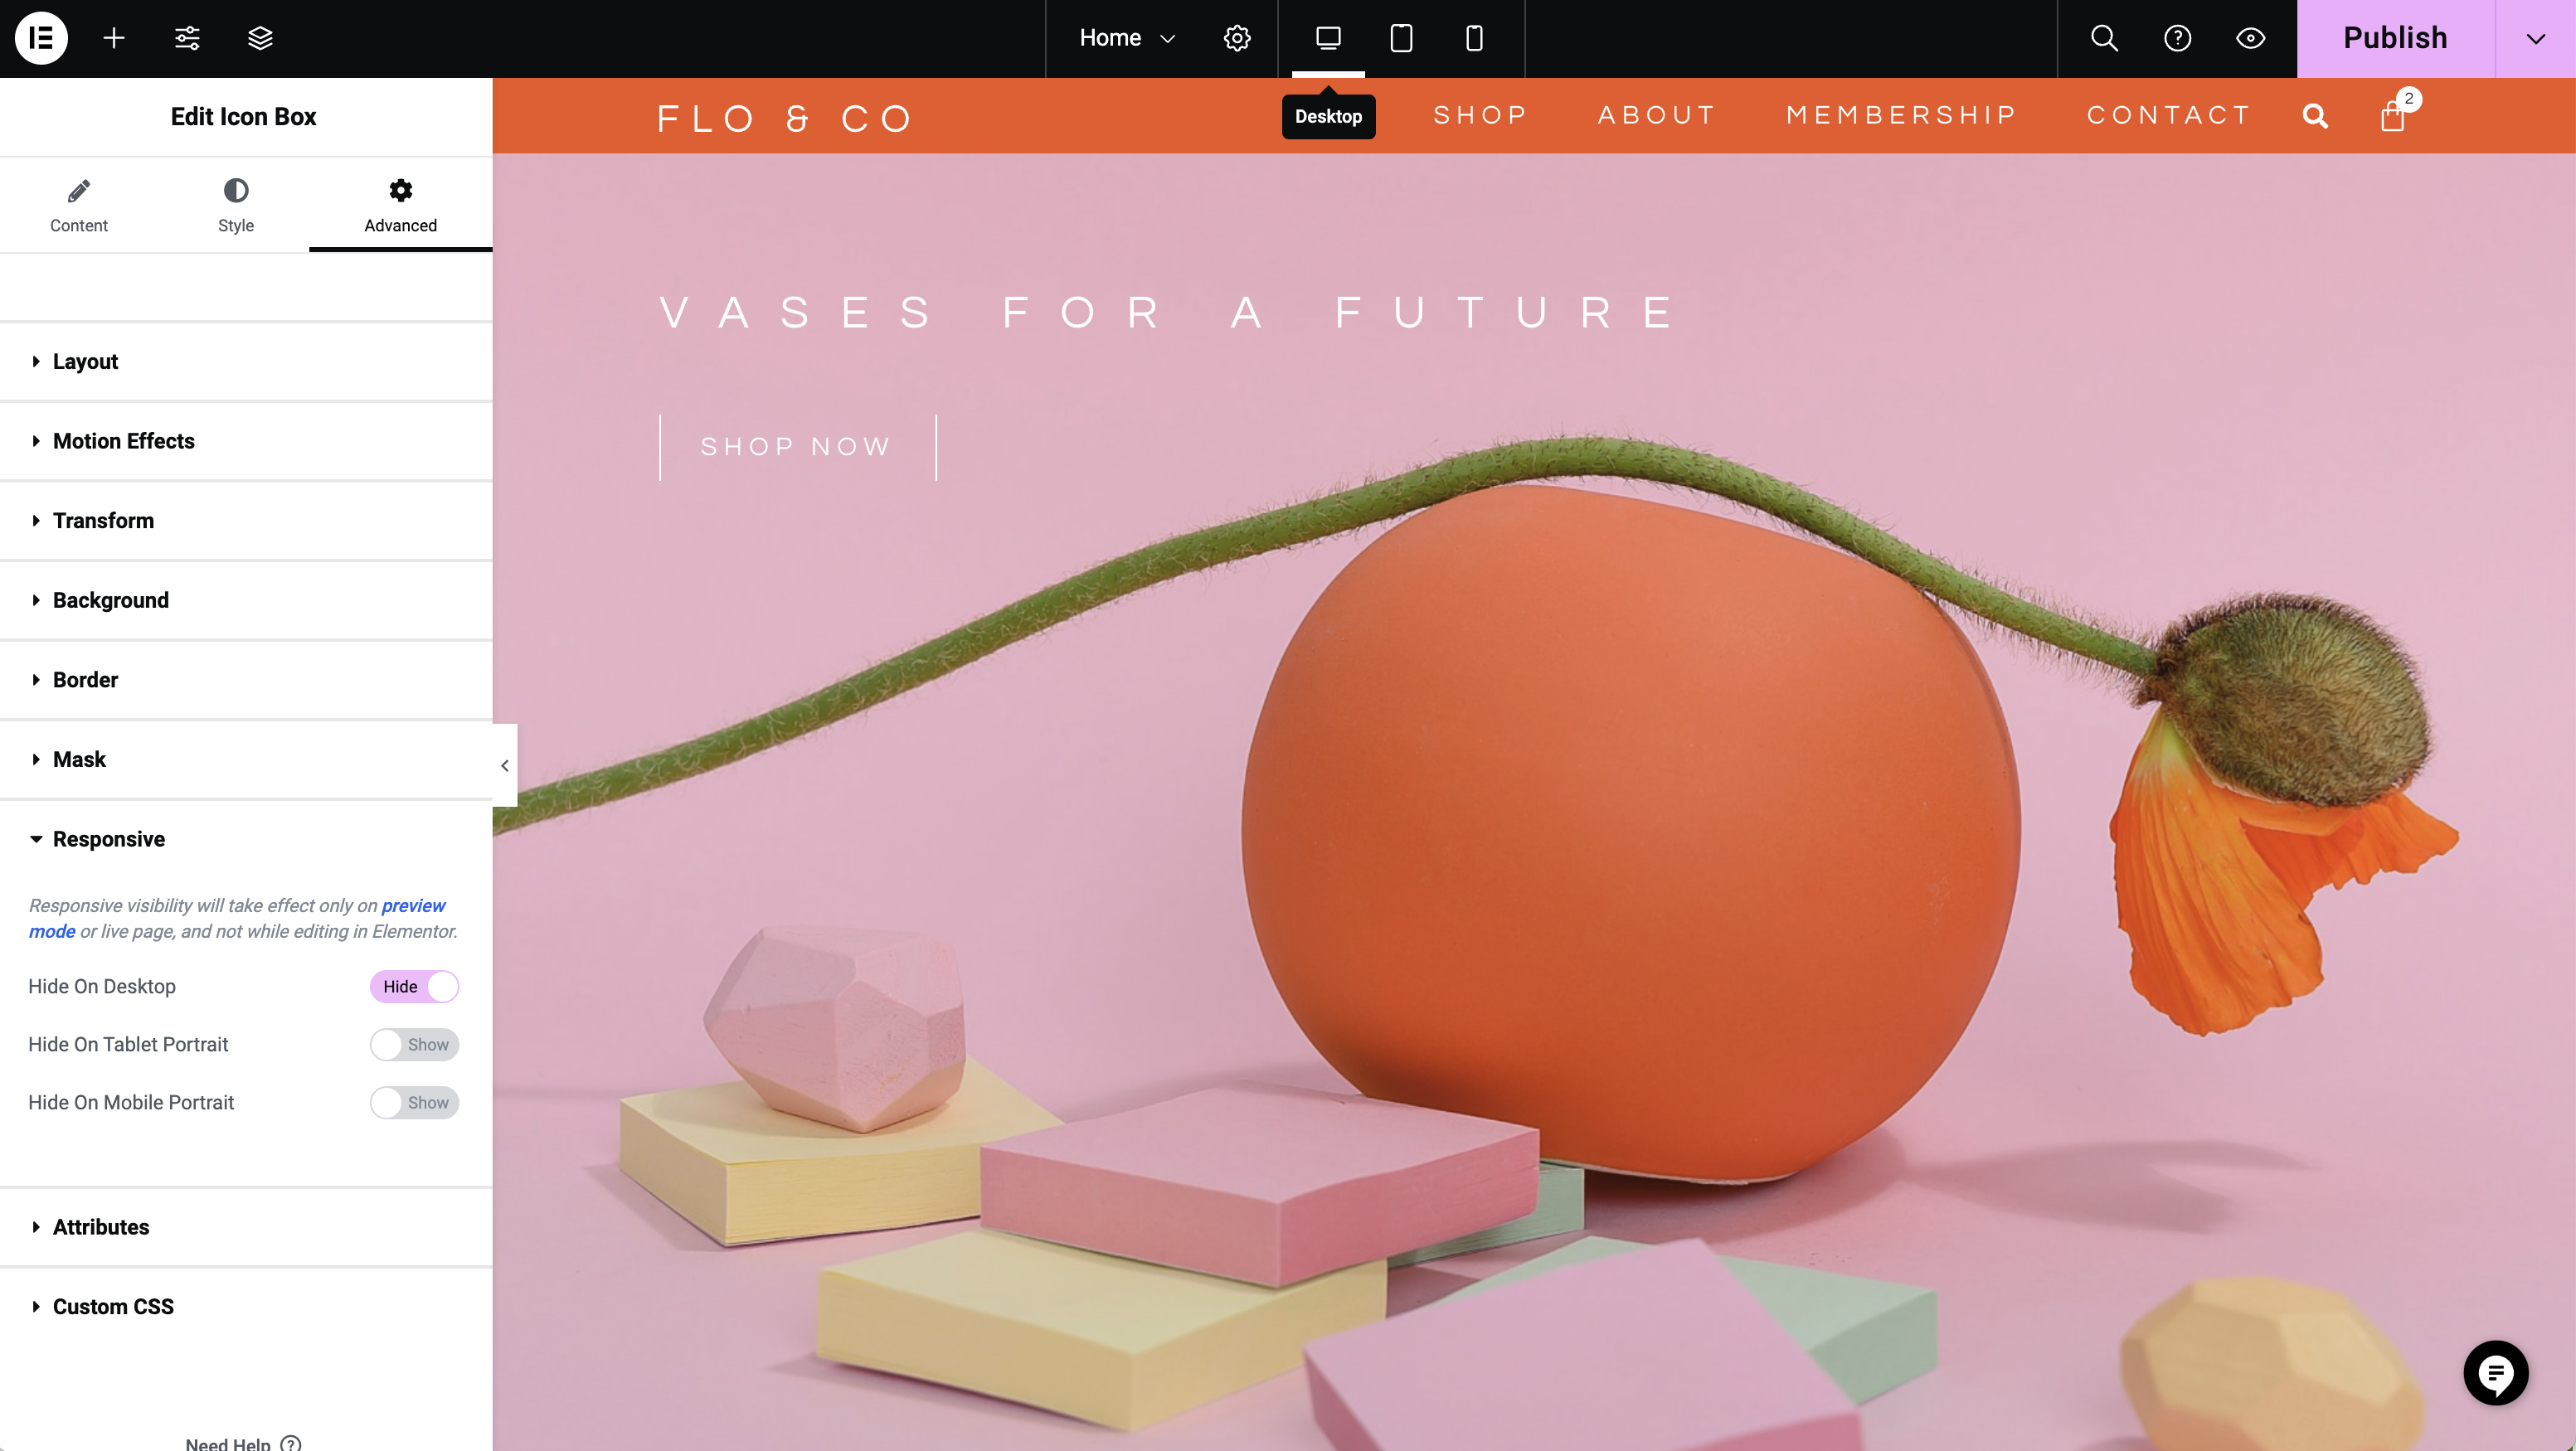
Step 3: Getting Familiar with the Elementor Editor
Once your theme is set up, create a new page by going to Pages > Add New in the WordPress dashboard. You’ll see a big blue button that says “Edit with Elementor.” Click on that, and the Elementor editor will open.
On the left side of your screen, you’ll find a list of all the widgets you can use—things like text boxes, images, buttons, and forms. On the right, you’ll see a live preview of your page. You can drag widgets from the left and drop them onto the preview area to build your page visually.
Step 4: Adding and Customizing Elements
Now comes the fun part: designing your site! Here’s how to get started:
- Add Sections: Click the “+” button in the editor to add a new section. This will be your building block.
- Choose Layout: Pick the number of columns you want for the section. You can have one-column layouts or more complex multi-column designs.
- Add Widgets: Drag a widget (like an image or text box) from the sidebar and drop it into your section.
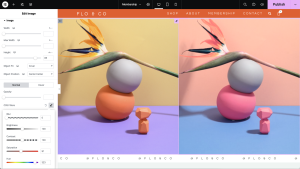
- Customize: Click on any widget to open its settings, where you can change the content, style, size, and other features.
Step 5: Working with Templates (Optional)
If you’d rather not start from scratch, Elementor offers a library of pre-made templates. These are fully designed pages or sections that you can insert with one click. From there, you can swap out the placeholder content for your own and tweak the design as you like.
Step 6: SEO Optimization
If you want to share your DIY projects with the world, you’ll need your website to be easy to find. Here are some SEO tips to make sure your site is search-engine-friendly:
- Use Keywords: Identify keywords related to your content and naturally include them in your page titles, headings, and text.
- Optimize Images: Compress your images and add descriptive alt text to help search engines understand what they’re about.
- Improve Page Speed: Keep your site lightweight and fast by minimizing the use of heavy elements and large images.
- Use SEO Plugins: Integrate tools like Yoast SEO to guide you in optimizing your pages for search engines.
Step 7: Preview and Publish
Before making your site live, be sure to preview it. Click the Preview button in the Elementor editor to see how your site looks on desktop, tablet, and mobile. Once everything looks just right, hit Publish and your site will be live!

Elementor Free vs. Pro: Which One Should You Choose?
Elementor Free
The free version of Elementor includes everything you need to build a simple website. You get access to:
- The drag-and-drop editor
- Basic widgets like text, images, and buttons
- Responsive design
- Limited templates
For a personal blog, portfolio, or small project site, the free version maybe be all you need, but sometimes you have more projects.
Elementor Pro
Elementor Pro unlocks more advanced tools and features, which can take your DIY website to the next level. Some key features of Elementor Pro include:
- Theme Builder: Create custom headers, footers, and other theme elements.
- WooCommerce Builder: Perfect for DIYers looking to add eCommerce functionality to their site.
- Marketing Widgets: Tools like popups, forms, and countdown timers that help you engage visitors.
- Custom CSS: Add your own custom CSS code to get full control over your design.
If you’re building a more complex site or want more flexibility in your design, Elementor Pro is a fantastic investment.
Landing Page: https://be.elementor.com/visit/?bta=225675&nci=5626
SEO Tips for Your Elementor Website
If you’re going through the effort of creating your own website, you’ll want people to see it. Here are some practical SEO tips that you can use with Elementor to improve your website’s ranking:
- Optimize for Speed: Slow websites can hurt your ranking. Use plugins like WP Rocket or W3 Total Cache to improve load times.
- Mobile Optimization: Ensure your site looks good on mobile. Elementor’s mobile editing view makes this easy.
- Use Headings Properly: Structure your content with headings (H1 for the main title, H2 for subheadings, etc.) to help search engines understand the content.
- Add Meta Descriptions: Using a plugin like Yoast, you can craft compelling meta descriptions to improve click-through rates.
- Internal Linking: Link between the pages on your site to help visitors and search engines navigate your content.
Conclusion
Elementor is a game-changer for anyone who loves the hands-on approach to projects and wants to create a personal website. Its drag-and-drop interface, customization options, and flexibility make it perfect for DIY enthusiasts. Whether you’re showcasing your artwork, sharing your latest woodworking project, or starting a blog to document your DIY adventures, Elementor provides the tools you need to build a beautiful, functional website.
So, go ahead—start building your own site today. With Elementor, you’ll have the power to bring your creative vision to life and share your DIY projects with the world.