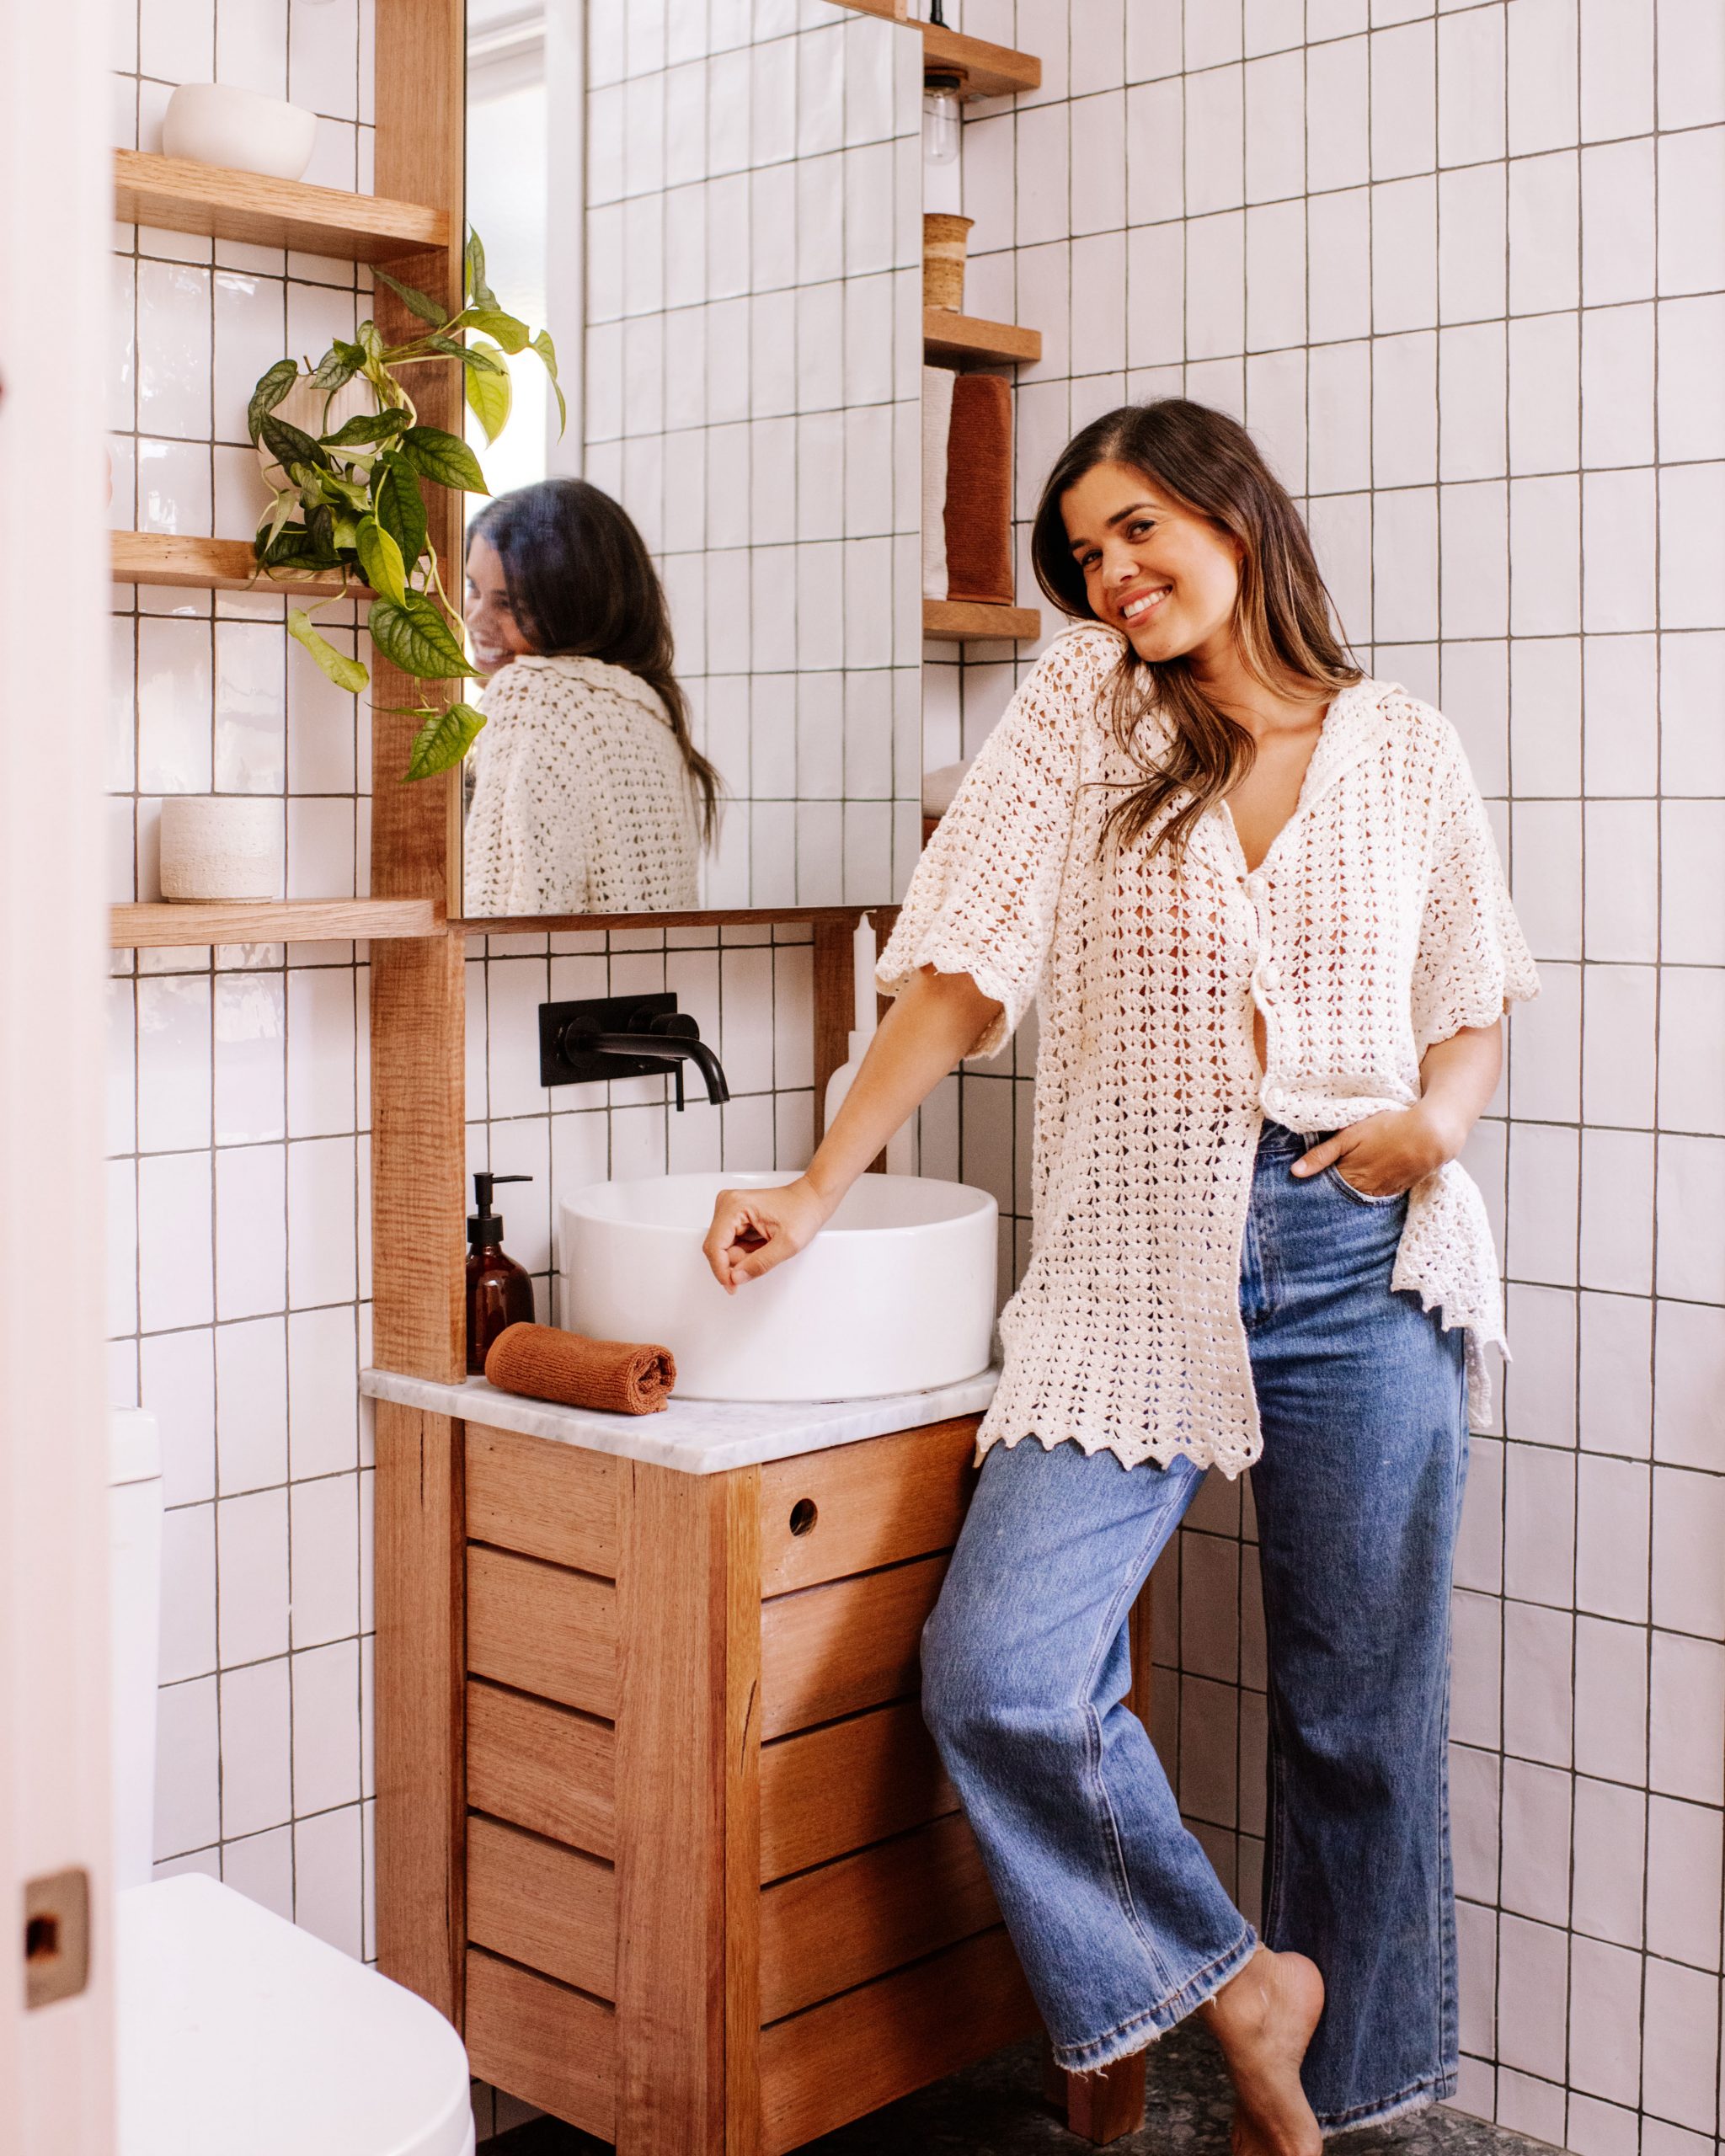
It’s been nearly 5 years since we renovated our space, so it’s about moment our ensuite were given a beauty replace and a few difference deposit. Deliver at the small toilet reno!
Once we in the beginning renovated, I sought after an used, persona crammed deposit for the basin, and I liked the ensuing antique vainness. Then again, over the closing few years we realised we would have liked a bundle extra deposit, so we concept it could be excellent to do an replace on this length. With the utility of Tasmanian oak, a unutilized replicate, and a couple of equipment (all discovered at Bunnings!), we’ve been ready to present the ensuite a far wanted face carry… Anddd incorporate an entire heap of unutilized deposit on the similar moment. This undertaking used to be easy but efficient as we have been ready to utility the bones of the former vainness, depart the basin, bench lead and cupboard, and manufacture round it. Learn on for a step-by-step.
The Prior to
The unedited length had an easy (however lovable!) antique vainness that I upcycled after we renovated, however we desperately wanted extra deposit. We constructed cabinets, added a replicate on hinges to build replicate deposit, and stored the shallowness however simply clad it in the similar Tasmanian Oak.
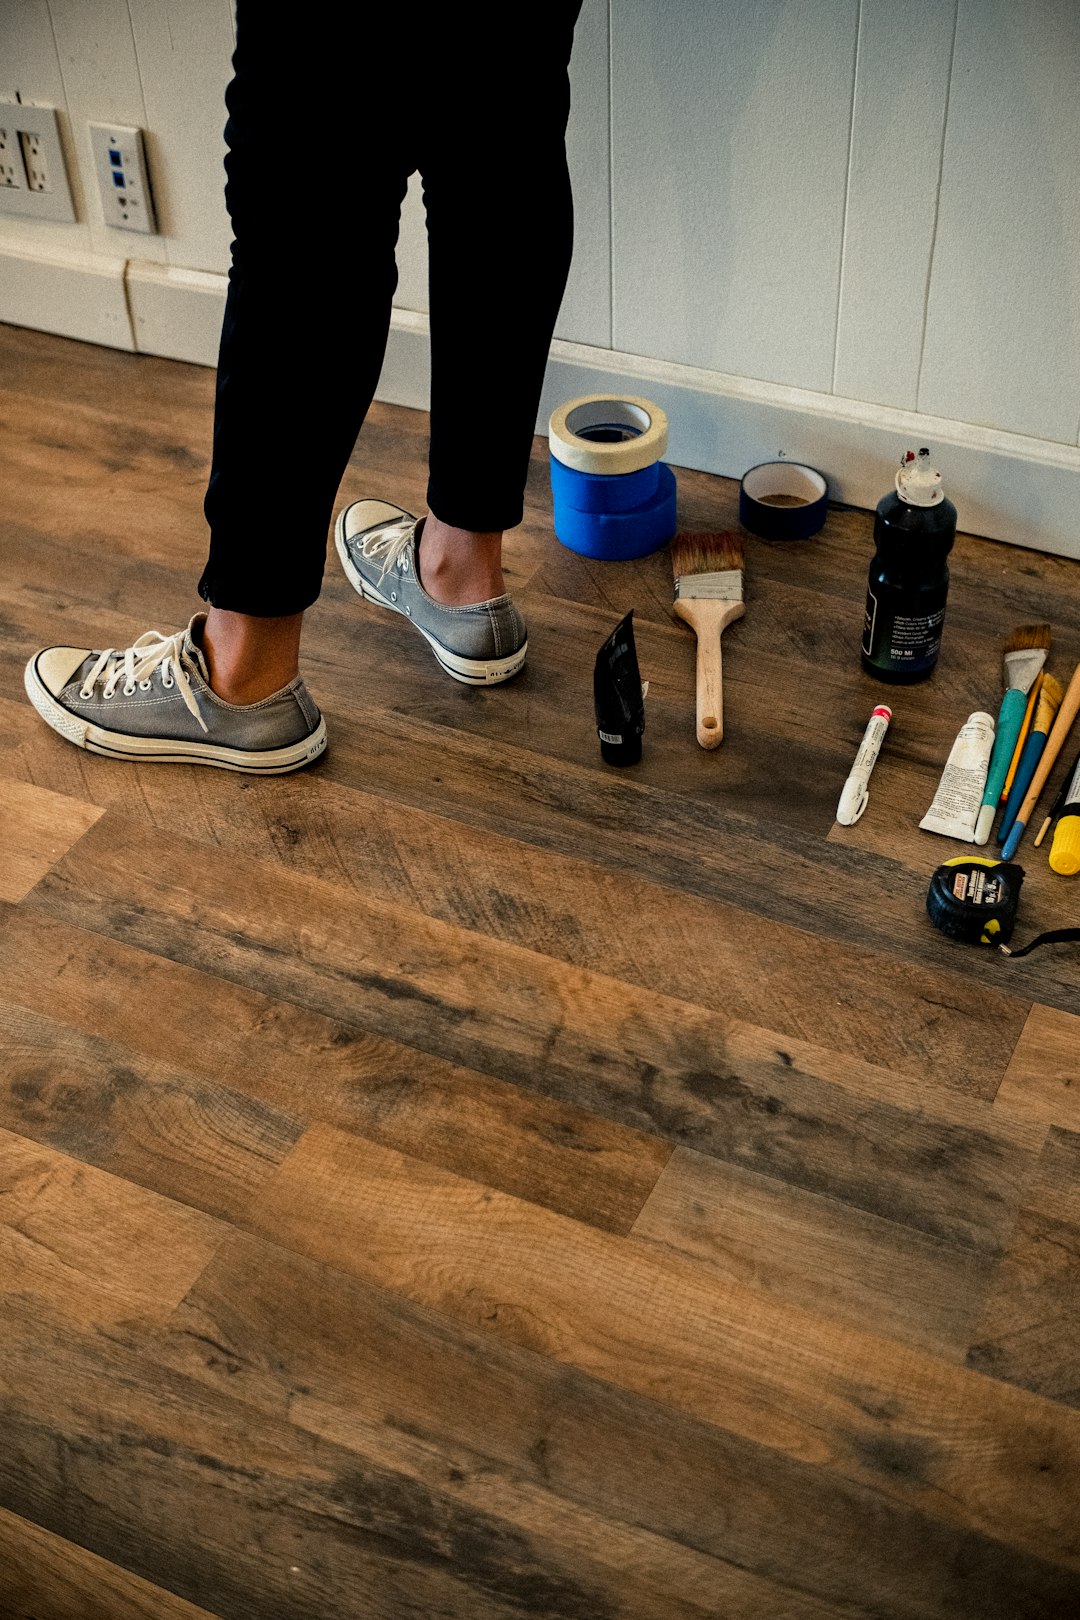
Fabrics we impaired
How We Up to date Our Toilet Vault:
1
First, we unfortunately had to take away the used replicate to manufacture approach for the unutilized shelving. We first impaired a hammer to split the replicate. The use of gloves and a steel scraper we later got rid of the replicate from the tiles. We impaired a razor to take away any residue glue off the tiles. Build positive to put on protection glasses and gloves all over this step as you don’t need any glass items to your visuals!
2
To determine the place to park the cabinets, we impaired painters tape and a laser stage, along side a stud finder to manufacture positive we have been attaching the cabinets into there studs. I marked the tiles with a move three times alongside every shelf area, appearing the place the screws will wish to advance for the L brackets to accumulation up the cabinets.
3
At the centre of every marking, I impaired a ceramic drill bit to build a pilot hollow within the tiles. I later connected all 12 L brackets in to the wall, able for the cabinets.
5
As soon as the cabinets have been up, we snip and oiled smaller items of Tasmanian oak to park at the wall horizontally, move bracing the cabinets. We impaired plank glue and nails to store those items in park. This gave a park to hold the replicate and similar within the drugs cupboard.
6
We needed a replicate and a few in the back of replicate deposit, so the very first thing I did used to be glue a replicate to a few MDF toggle ti some construction. Ben later screwed in some cushy similar hinges into the again.
7
The cabinets have been now able for the replicate! I glued a replicate on to a few MDF and as soon as brittle, connected some hinges. We later hung the replicate in entrance of the move bracing at the wall which created confidential deposit in the back of the replicate (a medication cupboard).
8
The general step used to be updating the used toilet cupboard. We got rid of the used cupboard door to present it a extra trendy glance, and impaired snip up items of the similar Tasmanian Oak because the cabinets to preserve the used cupboard. We later created a unutilized door the use of MDF, hinges clad it in additional Tasmanian Oak to manufacture it seamless with the residue of the length.
This put up is in collaboration with Bunnings